
How to Sew a Crayon Tote Bag for Kids! Free Sewing Tutorial.
Supplies:
3 fat quarters (or any fabric scraps of your choice)
thread to match
one piece of felt
scrap of ribbon
basic sewing supplies

Cutting:
Outer - 2 pieces 13.5" x 10.5"
Lining - 2 pieces 13.5" x 10.5"
Crayon Slip - 10.5" Long x 5.75" High
Straps - 4 pieces 2.25" x 20.5" (LONG STRAPS)
or
14" x 2.25" (SHORT STRAPS)
Inside Pocket - You're choice, My pocket is small I cut 5" high x 9" long, you can make it bigger or you can leave it off completely.
1. Iron all pieces. Iron inside pocket in half right sides together. So the same for the crayon pocket.


2. Cut out your applique from your piece of felt.
Pin applique to the right side of the outer fabric and sew around it with matching thread.


3. Take your pocket piece and sew all around the edge VERY close. Leave 2 inches for turning. Turn the pocket ride side out, turn the fold the raw edges in and press flat with your iron.
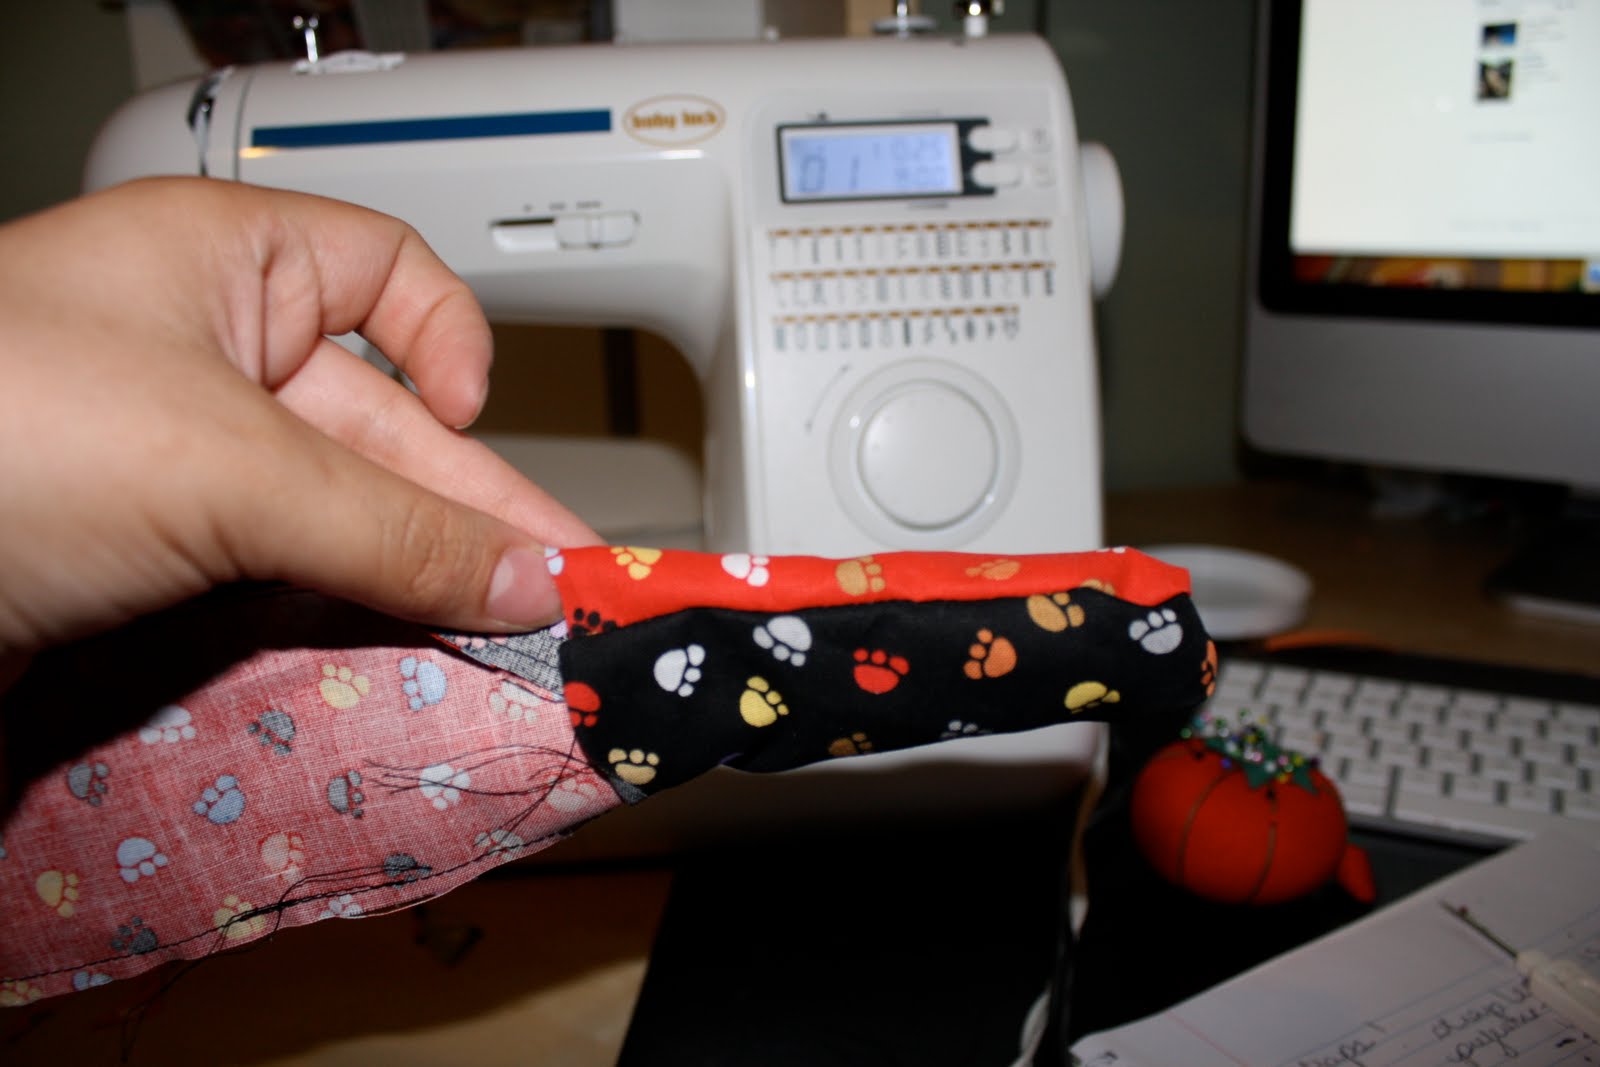
4. Sew along the bottom of the crayon pocket, VERY close to the edge. Turn right side out and press.

5. Take your 2nd outer piece of fabric and pin the ironed crayon pocket on it. 3" from the bottom.
6. Sew the crayon pocket to the bag. (1/4") Sew along the BOTTOM ONLY.

7. Now I am going to confuse the hell out of you.
leave 1/8" on the end and mark your fabric with a fabric pencil or pin. This is where you are going to sew your crayon pockets.
See Images.

See the pin heads? Those are all 1" apart.

Now sew straight lines at each one inch section. See Image.


There it is all finished. Did you understand? I stuck my trusty seam ripper in a pocket to show you what you should have by the end of this step.
8. Pin the right sides of your outer fabric together and sew 1/2" all around (don't sew the top open!)

9. Turn, and press seams.
10. Square of the bottom. Measure 1" on the corner mark it with a pen and sew across 2 or 3 times to secure. See Images.


Repeat for other side. Set aside.
11. Sew your pocket into the lining piece. (I used about a 1/4" seam)

12. Repeat steps 8, 9, and 10 with the lining BUT leave 3" on bottom open for turning.
13. Let's sew the straps. Pick the length you want. I choose the 14" length for my sons bag. I personally prefer it for a boys bag. My nieces bag had the longer shoulder strap.
Place 2 pieces of strap together right sides facing. Sew down the long edges using a 1/4" seam.

Turn and press.
Now sew down the right sides 1/4" from the edge. This just makes it look more finished.
Repeat for 2nd strap.
14. take your outer bag and lining. Place right sides together and pin in place.

15. Measure 2" in from each side seam. Mark with a fabric pen.
Place your traps inside the two linings with about 1" of the bottom of the straps sticking out.
See Images:


Repeat for 2nd strap.
16. Sew around the top of the bag using 1/2" seam.

17. Turn bag right side out. Stitch up lining.
18. Iron bag and top seam.

19. Sew around the top seam to finish the bag and to secure the straps again. (1/4" looks perfect)

20. Fill with crayons and coloring books! (My bags hold 4 coloring books!)
ENJOY and PLEASE ask questions if you have any ( I am sure you do, lol I tried!)


Here's the inside:


No comments