How to sew a pretty jeans bag. Step to step tutorial.
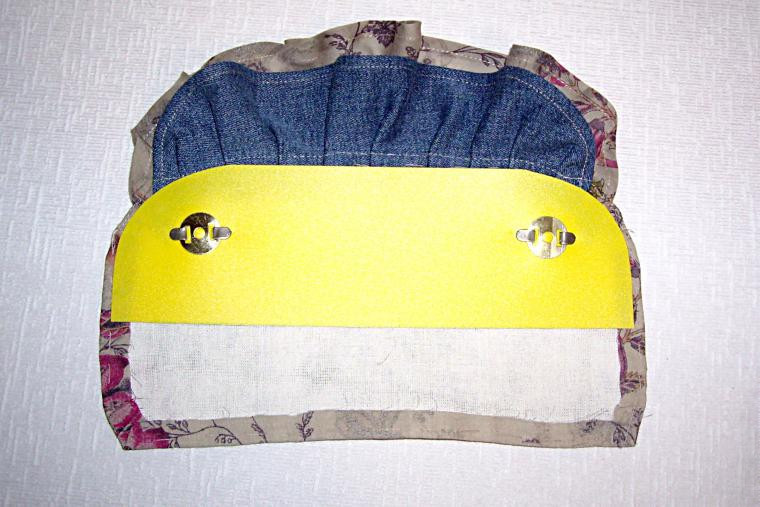
I used soft cutting desk for my bag form, or you can buy plastic napkins to it.
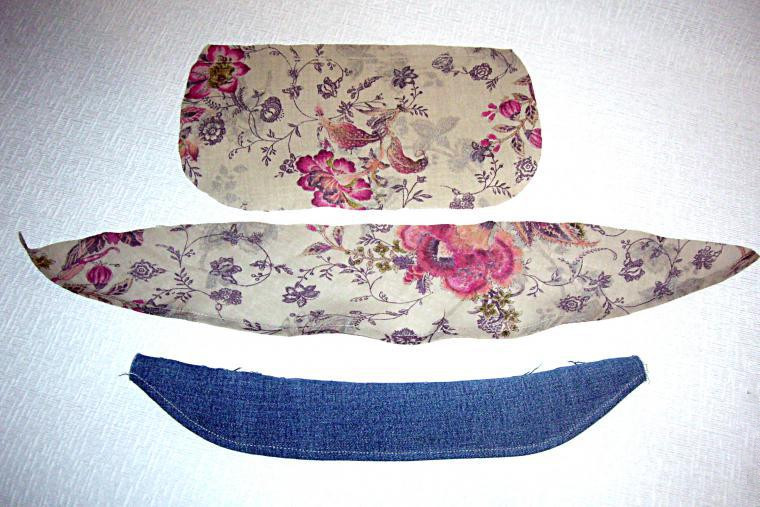
My bag will be 23cm width X 16cm height, and 6 cm for bottom. Big strip we need to. for valve to our bag.
Cut all details and round all corners:
Next we need basic detal for bag. Height need to be like 3 plastic rectanlges plus seam. I recieve 41 cm. width will be like a rectangles width(22cm for me) plus width of bottom and seam. My width: 30 cm.
Basic detail you can make from hole piece, or make it with patchwork. You need to glue fabric with adhesives dublerin, or quilt with sintepon, if it very thin. And next you need to cut patch blocks follow dimensions and right angels.
You need to sew a pocket with zipper. You should to cut a rectangle by pocket size + seam.
Unscrew detail of pocket:
Strip pocket detail. Lightning should be to 1-2 cm shorter than the pocket. Cutted edges of braid melted with lighter. 2 Small pieces of fabric you need to sew at zippers's end.
Zippers size should be like pocket
Put detail of pocket to zipper and paving the line.
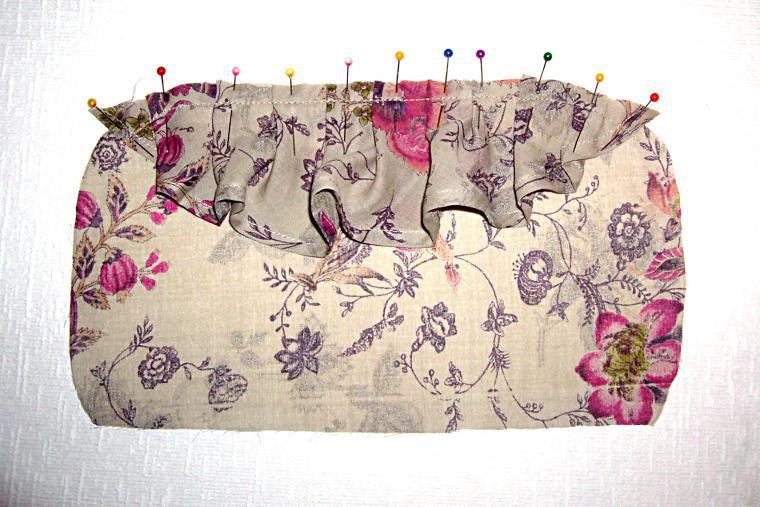
Line , fasten with pins , then paved the line .
Turn down pocket detail, fix with pin and paved the line by 3 sides. Pocket done.
Put the glue, next put fabric and again glue. Carefully glue the entire fabric. Glue should dry for about 20-30 minutes. Then warm up the entire adhesive surface hairdryer:
Next. you need to put at your bag package, to delete excess air.
And fast, but carefully remove the pellicle
Done! :) You are very good, check my other tutorials!


No comments