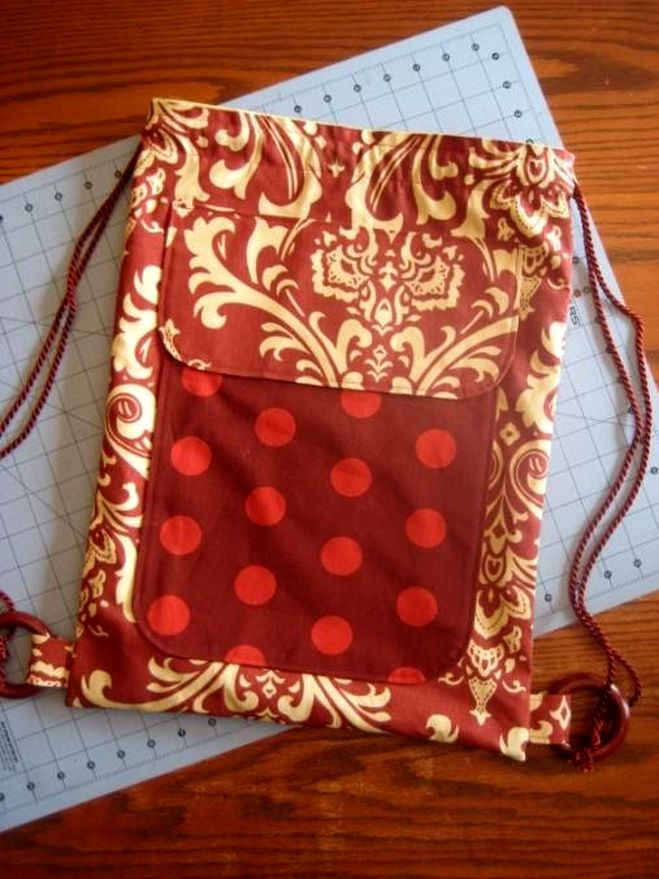
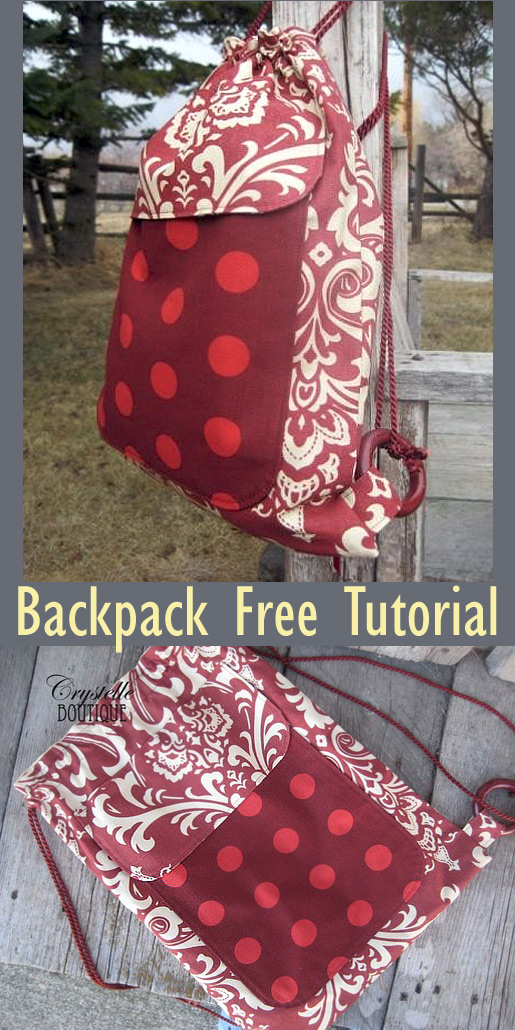
The Dedre Backpack is fun for boys and girls, teens and adults. Great for soccer-clothes, piano books, toys, etc. for kids. Awesome as a purse for adults and teens!
The Dedre Backpack pattern features a large exterior pocket on the front, a zippered pocket on the back, and a pocket inside. Any and all of these pockets are optional of course.
You will find yourself making this bag time and again: Using different fabric combinations and finding more and more uses.
Here is the downloadable sewing pattern. Have a happy sewing day.....!! Download File
Fabric
- Fabric A ¾ yard (45”wide) or ½ yard (54”wide) Exterior, etc.
- Fabric B ⅜yard (45”wide) or ⅜ yard (54”wide) Big Pocket, etc.
- Fabric C ¾ yard (45 “wide) or ½ yard (54”wide) Interior, etc.
Other Supplies
- Two D or O-rings
- 4 yards cording
- Coordinating thread
For Optional Zippered Pocket:
- 9” Zipper
- 7” Ribbon
- Fray Check
Note: If you decide to use a lightweight cotton fabric, it is recommended that you line all
pieces with interfacing or fusible fleece. For sturdy home décor cotton fabric, that is not
necessary. In the example used in these pictures, the fabric was decorator cotton, so
interfacing was not needed….
Cutting Instructions
Front and Back Panels
- Exterior Front and Back Panels—Fabric A (cut 2) 15 x 20 inch
- Interior Front and Back Panels—Fabric C (cut 2) 15 x 19 ½ inch
Interior Patch Pocket
- 12 X 16 inch—Fabric B (cut 1)
Exterior Zippered Pocket
- 10 x 12 inch—Fabric C (cut 1)
Exterior Pocket
- 11 x 26 inch—Fabric B (cut 1) Round all four corners using the enclosed template
Pocket Flap
- 11 x 11 ½ inch—Fabric A (cut 1) Round all four corners using the enclosed template
Tabs
- 3 x 4 inch—Fabric A (cut 2)
Sewing Instructions
- Cut out all pattern pieces. Round the corners using the included template on the exterior pocket and
pocket flap.
- (Opt.) Apply interfacing or fusible fleece to lightweight fabrics using manufacturer’s instructions.
Exterior Front Pocket and Flap
- Fold pocket flap in half right sides together (width is now 11½ “). Pin in place.
- Sew along edges (1/4 inch seam) leaving a 4 inch opening in the middle for turning.
- Clip along the rounded corners.
- Turn. Press.
Topstitch at ⅛ inch along the sewn edges.
- Fold exterior pocket right sides together (width is now 11 inches)
- Sew along edges using a ¼ inch seam.
- Leave a 4 inch opening at the bottom for turning.
Clip around the rounded corners
Turn. Press.
Topstitch the top edge at ¼ inch
- Place centered on front exterior panel 2 ½ inches from the bottom. Pin in place. (You may have to alter this measurement)
- Topstitch ⅛ inch around the sides and bottom.
- Place the pocket flap 3 ½ inches from the top, centered over pocket. (You may have to alter this measurement)
- Pin in place.
- Topstitch along top edge at ⅛ inch
- Fold side of tab about ¾ inch into the middle. Press.
- Repeat on other side. Press
- The tabs now measure 1 ½ x 4 inches
- Topstitch along the sides at about ⅛ inch.
Fold one O or D-ring into a tab. Baste the end. Repeat for other tab.
- Pin tab-rings to bottom left and right corners of exterior front panel, one inch from the bottom.
Baste in place.
Zippered Pocket
This pocket is completely optional. If installing zippers scares you, or you just don’t feel the
need for one, JUST SKIP IT! However, these instructions with accompanying pictures make
installing zippers a BREEZE…
Here we go:
- Place the zippered pocket fabric wrong side up in front of you, 10 inches as the width, 12 inches tall
- 1 ½ inches from the top, draw a centered horizontal rectangle ½ by 8 inch.
- Place this zippered pocket fabric sideways on the exterior side panel, right sides together. 1 ½ inch from the left side, 2 inches rom the bottom.
- Pin in place.
Stitch on the lines of the rectangle, using a tiny stitch length.
- Cut an opening down the center of the rectangle. Stop at ½ inch from the end.
- Carefully cut toward the corners.
Turn the pocket through the hole and press, making sure it looks nice and smooth and straight.
Flip the exterior panel over so the little triangle shows.
Sew over that triangle. Repeat on other side.
- Center the zipper under the opening. Pin in place.
- Stitch close to the edge using a zipper-foot.
- On the back side, fold the pocket fabric over itself. Pin the sides together, and stitch in place.
- Add the ribbon to the zipper as a zipper-pull. Sew in place.
- Place a drop of fray-check on the ribbon ends. (Opt.)
Exterior Bag
- Place exterior front and back panels on top of each other right sides together.
- Pin, then sew sides and bottom (at ½ inch)
- Important: leave a 1 inch opening 1 inch from the top on both left and right sides.
- Double-stitch over the tabs.
Open up seam at the top. Top stitch over 1 inch opening, close to the edge. Do so on both sides.
Interior Patch Pocket
- Fold patch pocket fabric in half, right sides together. It
now measures 8 x 12 inches.
- Sew the three open sides together at ¼ inch. Make sure
to leave a 4 inch opening for turning.
Trim the corners
- Turn. Fold opening in. Press.
- Pin Patch pocket to interior back panel, 5 inches from the top, 1 ¾ inch on each sides.
- Stitch close to the edges on the sides and bottom.
- (Opt.) add a 2 inch divider on the left for pens/pencils.
Interior Bag
- Pin interior front and back panels right sides together.
- Sew leaving a 7” opening at the bottom for turning.
- Trim bottom two corners.
Finishing Touches
- Insert interior bag into exterior bag, right sides
together.
- Pin top edges together, lining up side seams.
Sew at ½ inch.
- Turn bag right side out through the hole.
- Hand-stitch opening in lining closed.
- Insert interior bag into exterior bag.
- Press top of bag into a nice sharp crease.
Topstitch top of bag at ½ inch, then again at 1 ½ inch, creating a sleeve.
- Cut cord into two 2-yard pieces.
- Putting a piece of tape over the ends prevents the cord from fraying.
Using a safety pin thread one cord from left hole all the way around, back out the same left hole.
- Go through the D or O-ring and tie a knot.
- Repeat on other side.
- You may now remove the tape from the cord.
All finished! Good work!!!!
Enjoy your new Dedre Backpack!


No comments