DIY l How to Upcycle Milk Carton l Easy and Useful Tutorial
WHAT YOU'LL NEED
- so normally I give you very clear instructions with lots of pictures but I didn't particularly want to take pictures with glue-y fingers, so pardon the lack of photos and poor paint drawings. Also I tend to give very detailed what you'll need lists, but with this it really depends on the size of your milk/ juice cartons.
5 x 1L paper milk cartons - rinsed out with soapy water and vinegar (keep reading for the dimensions if you are going to use plain cardboard)
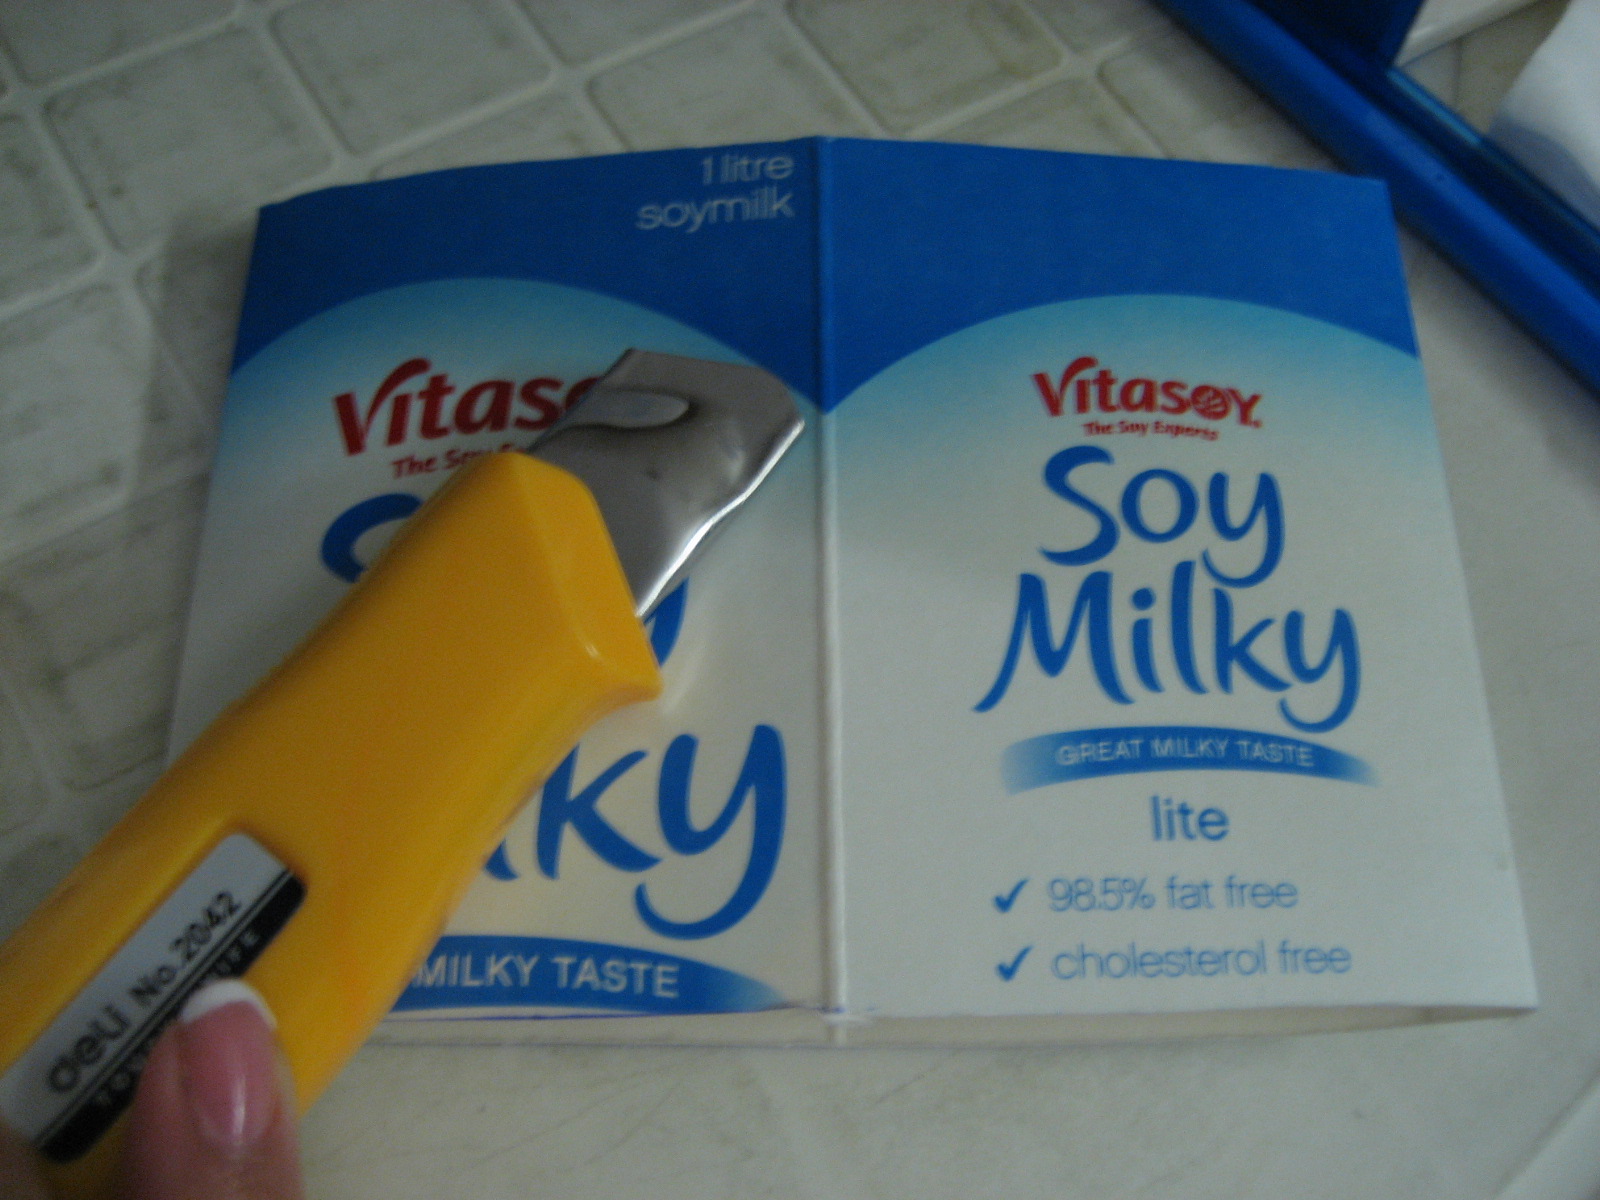
measure the halfway point between the top of the carton (where the square part is) and the bottom and cut at this point for all 5 cartons (the halfway point on my carton was 9.75cm) and cut off the top to get rid of the triangle
Please refer to the diagram below, it will be a lot less confusing for your sake, my words and instructions are confusing to me sometimes. The basic structure of the makeup holder will be 2 identical 'cubes' which are shown in red, and 1 main rectangular prism. You will basically need to cut a copy of all the sides of the prism + 'cubes' to line with fabric to give the cartonnage make-up holder the professional look.There's an actual photo if you scroll down a bit which makes more sense.
Probably best to read this tutorial all the way through twice as it is a bit all over the place. sorry!
10 x side rectangles - 6.9cm (w) x 9.4cm (h) GREEN (some can be salvaged from other pieces - look for the instructions in green below)
5 x 'cube' base - 6.9cm (w) x 6.9cm (h)
1 x 'cube' lid (not picture in semi-accurate diagram above) - 7.2cm (w) x 7.2cm (h)
2 x rectangular prism panels - 20.8cm (w) x 9.4cm (h) (not pictured)
3 x extra cardboard for rectangular prism base - 20.8cm (w) x 6.9cm (l)
Fabric - basically you will need 1cm extra on either side of your cardboard piece to cover in fabric i.e. add 2cm to height, 2cm to length etc. as an approximate but generally a bit more in height for the outer fabrics for the prism + 'cubes' - and for those of you who I have confused with the maths:
MAIN OUTER FABRIC
1 x outer fabric for rectangular prism - 58cm (w) x 13cm (h)
2 x outer fabric for 'cubes' - 30cm (w) x 11cm (h)
1 x rectangular prism base- 9cm (w) x 23cm (h)
2 x 'cube' base - 8cm (w) x 8cm (h)
1 x 'cube' lid - 9cm (w) x 9cm (h)
LINING FABRIC
10 x 'cube' side lining fabric - 9cm (w) x 11.5cm (h)
3 x 'cube' base - 8cm (w) x 8cm (h)
1 x rectangular prism base - 9cm (w) x 23cm (h)
2 x rectangular side panel fabric - 23cm (w) x 11.5cm (h)
PVA/ modge podge glue or if you're impatient a hot glue gun only
I would recommend using a base glue to stick the fabric to the sides of the cartons and the hot glue gun when you are folding the fabric corners (which will be explained with pictures later on - promise)
Sticky tape
5cm piece of ribbon or string
WHAT TO DO
If you have reached this part of the tutorial then you are doing amazing, and it hopefully means that I haven't confused you - yet. This is the fun part - promise.
First, grab the top half of 4 cartons which you have already split. You want ones that are hollow on both sides.
Press the carton pieces flat and cut along 1 of the seams - probably with scissors and not a craft knife, as you want to open your carton piece out so you have 4 panels.
Do this with both cartoons.
Tape together the two panels along the cut seams so you have 8 continuous panels.
Bend the panels so that it becomes a 3 panel x 1 panel rectangular prism.
Tape the panels so that the white part is facing outside, otherwise when you go to put your fabric on, you lovely carton label will show through!
Grab 1 of the rectangular prism bases and tape it to the bottom of your rectangular prism.
Yep, recycling cardboard - this is the front cover of my year 10 maths exercise book
Put aside your rectangular prism, and grab the 2 other carton halves which have been split into panels.
You will only need three panels to line each side - cut off the extra panel - this can be used/ salvaged as a side rectangle.
With all your pieces lined up this is what it should look like (please note that the two cubes are the bottom halves of the carton so they already have an intact base)
Ok so I lied, but now you know which pieces are what, so here's the fun part where you get to play with glue and fabric.
I like to start with the lining pieces first - just because there is so much more of them and I'm a rebel like that doing the inside first.
Grab your rectangular prism side panels and place some glue on the plain side, press this down into its corresponding lining fabric.
Grab some newspaper to line whatever surface you're working on because this will get messy - and heat up your glue gun.
This is where my hands got all hot glue gun stringy so no pictures just words.
You'll need to draw a line of glue across the top of your cardboard, I like to grab the opposite end of the cardboard to where I've just glued, and lift it upright then smoosh it glue side down into the fabric
or you could use your fingers to fold the fabric onto the line of glue - but I get scared of burning my fingers.
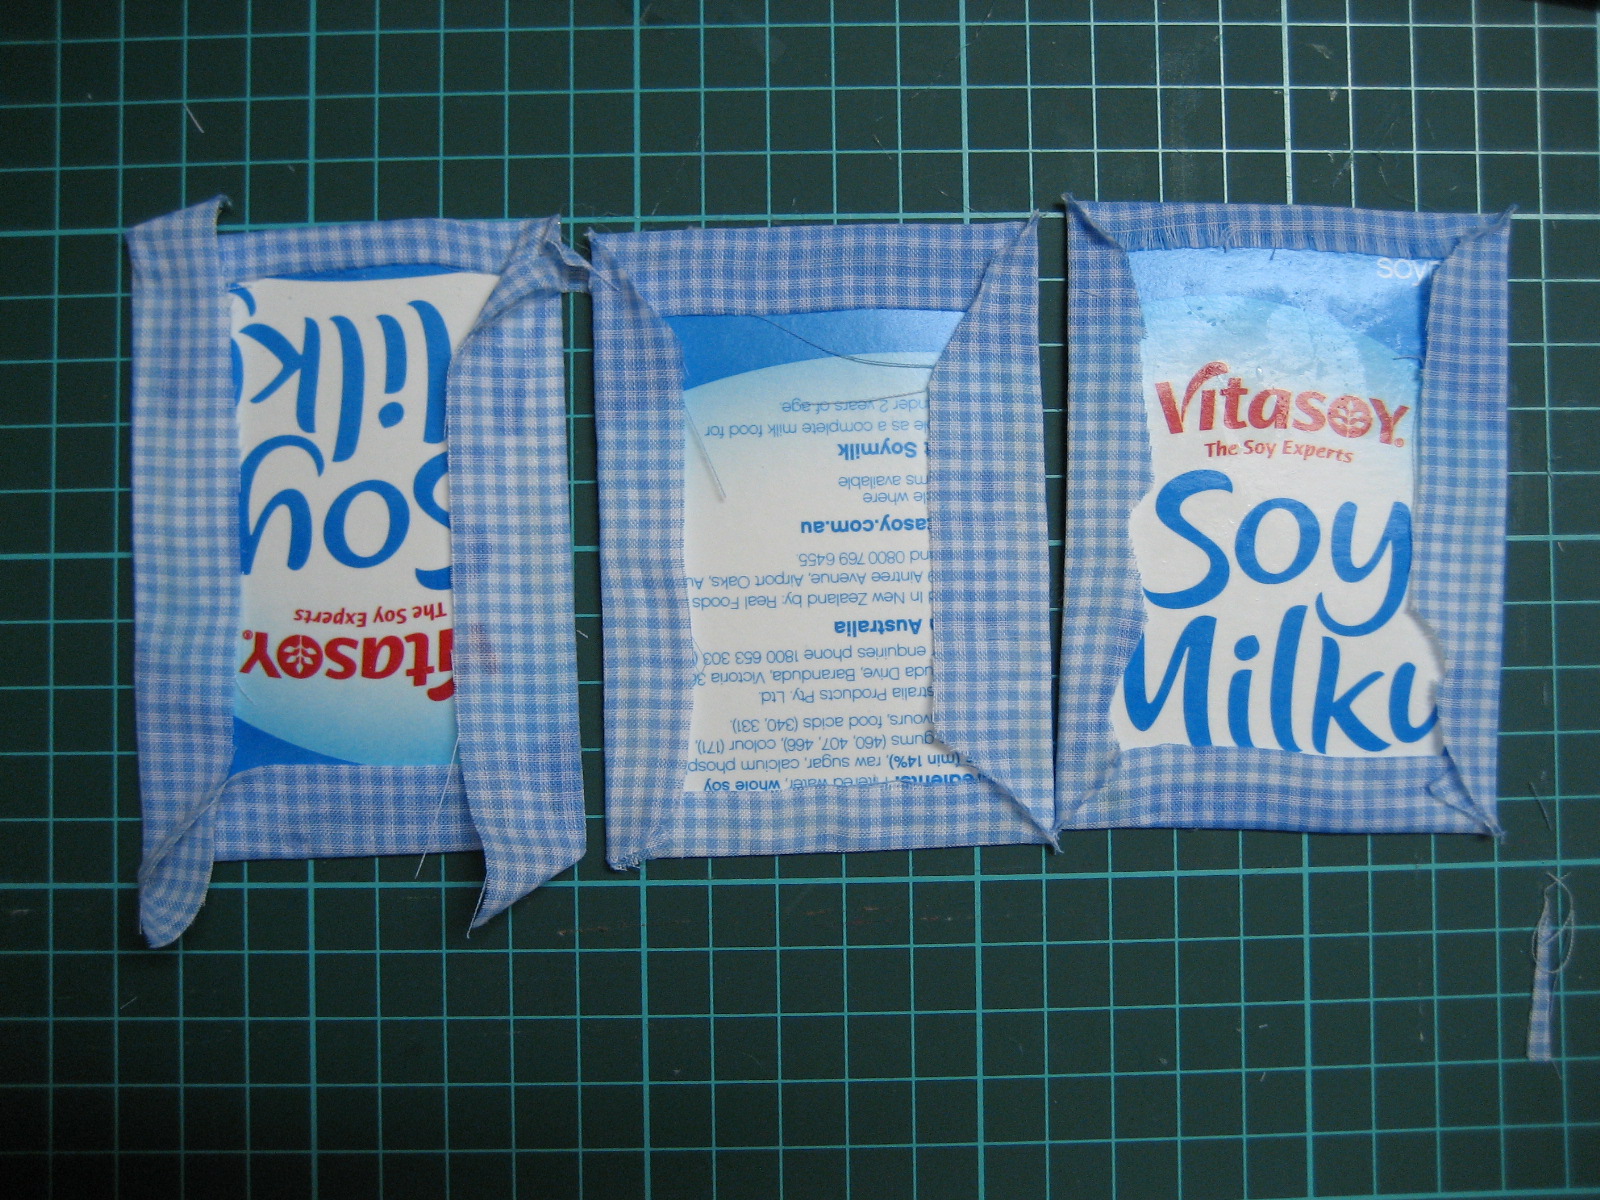
Try not drawn your line all the way to the edge as you want to have nice little triangles of fabric in the corner where the two adjacent edges of fabric meet, as below:
Grab your scissors and cut the excess triangles of fabric to reduce bulk
Wrap all your lining fabric pieces around the respective cardboard pieces.
Wrap the outer fabric pieces around all the INDIVIDUAL cardboard pieces so don't wrap the prism or the 2 'cubes'.
When wrapping the prism make sure that the raw edges of the fabric end up on the side of the prism, as we will be gluing the 'cubes' to both sides to cover it up.
Also make sure you have even overhang on both top and bottom to fold over
Same as before run a line of glue and fold, run a line of glue and fold.
When folding the top of the fabric down be sure to place and extra dab of hot glue in the corners and quickly press down
Now flip the prism over and fold over the excess as before - remembering to trim the corners
Do this for both the cubes.
Grab the bases for the cubes and prism.
Get the hot glue gun and quickly outline the base with glue, however don't place the glue too close to the edge of the piece, or it will squeeze out when you adhere it to the base of your cube/prism.
Adhere all three bases.
Grab the lining pieces and using the same method of outlining the pieces with glue, not too close to the edge and quickly pressing in place until all the pieces have been adhered.
Grab the piece for the lid and the remaining 'cube' base.
Glue a folded piece of ribbon to the base. Then glue this to the lid.
Using a needle and thread - old school I know, sew the back of the lid to the back of one of the cubes, you should be able to pierce both the outer and lining fabrics as below:
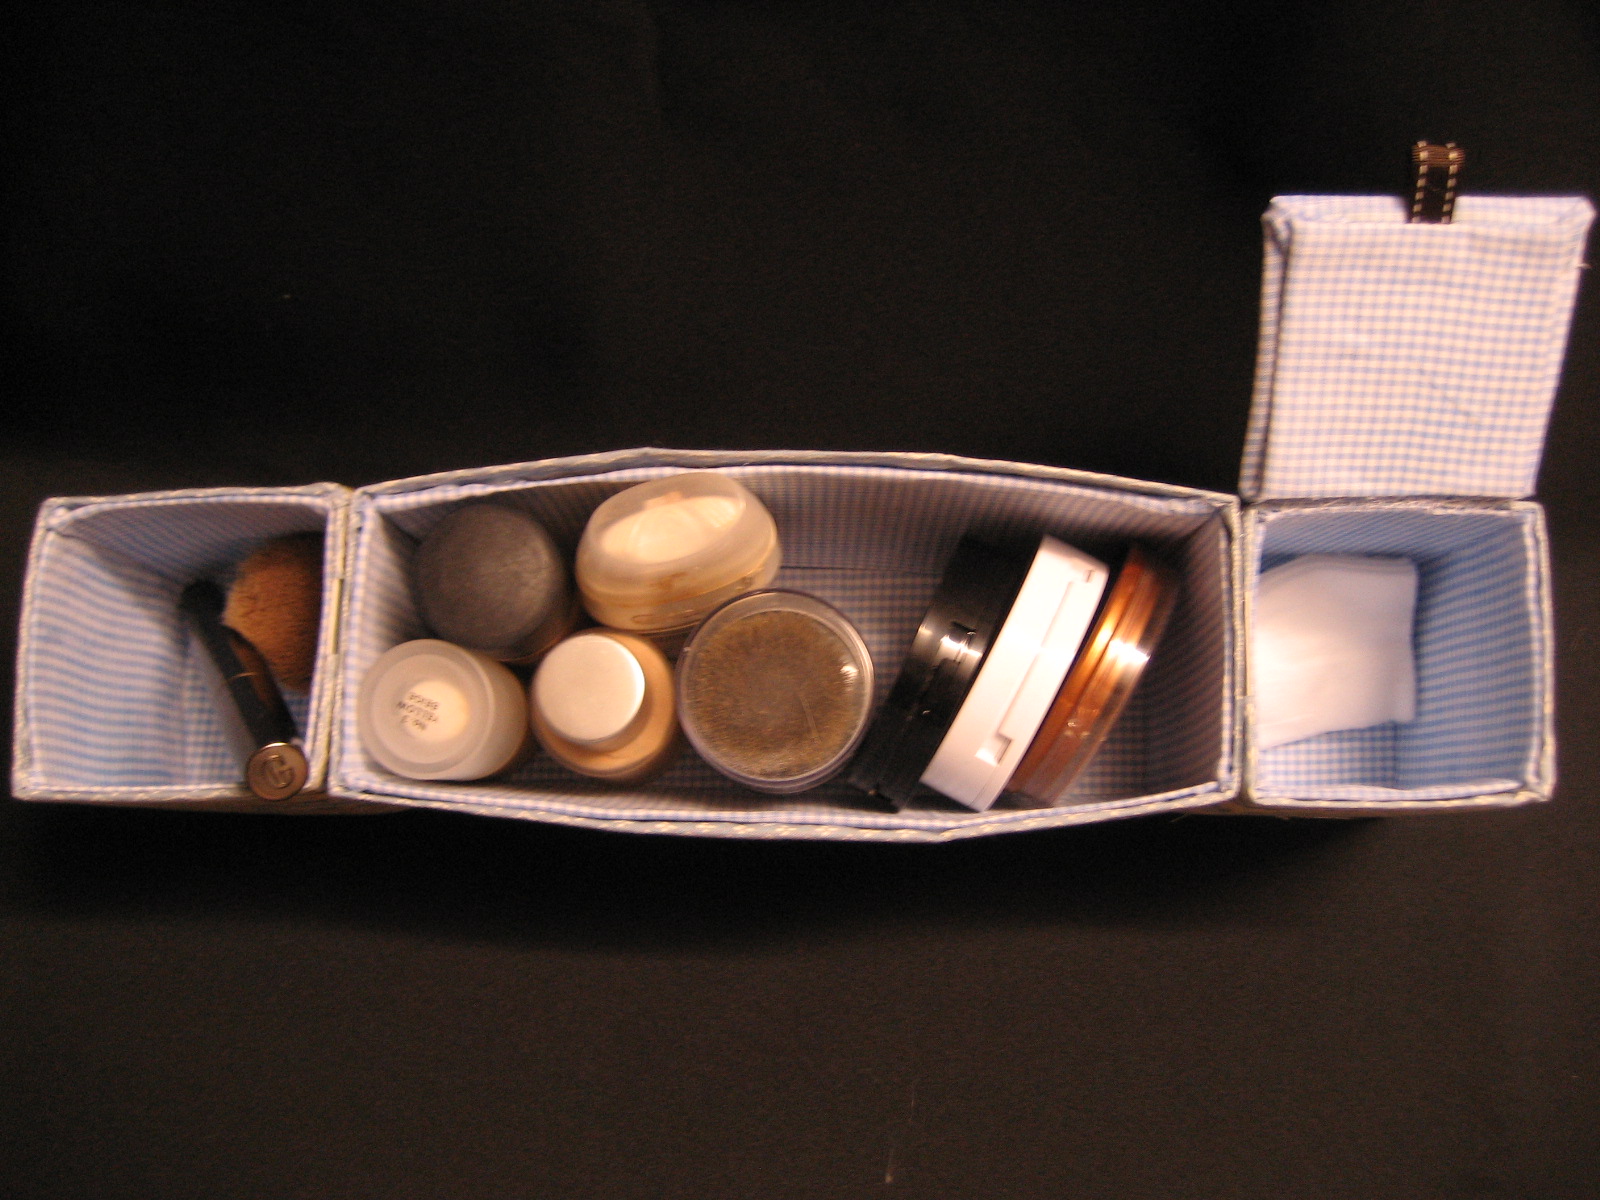
Yay you will now be the proud owner of a upcycled milk carton makeup/ pencil/ knick-knack holder!


No comments