Throw pillows are another fantastic way to incorporate cute textiles and DIY flair into your home without a great investment of time or money. If you’ve ever gone into a fabric store and wanted to buy everything because it’s just all so gorgeous, then pillows are a great way to put those fabrics to work in your decor. Bold or loud prints that would be too much used in large scale (like in curtains) can be just right for a little pillow pop on a sofa or bed.
I’m going to show you how to make a zippered pillow cover, which is easier than it sounds, I promise. It looks super-professional AND has the added bonus of being easily changeable—I love the idea of making tons of different pillow covers and just swapping them out whenever you want a little change in a room.
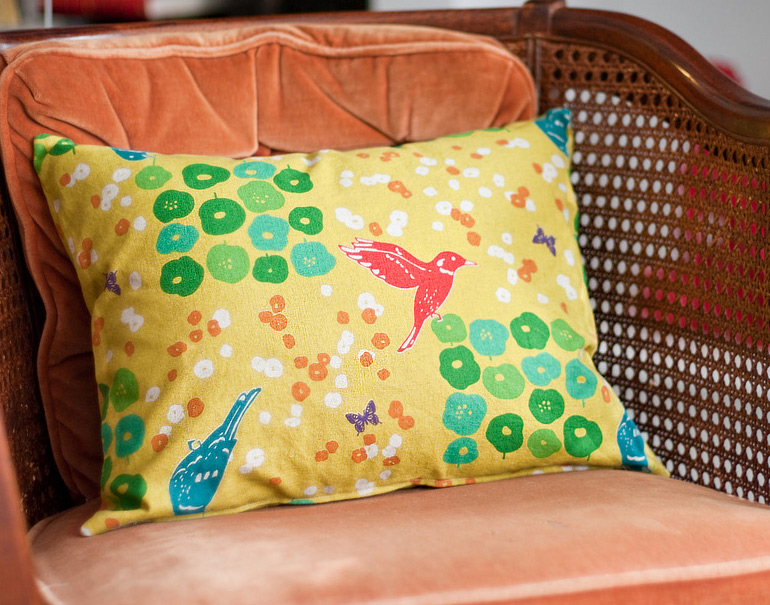
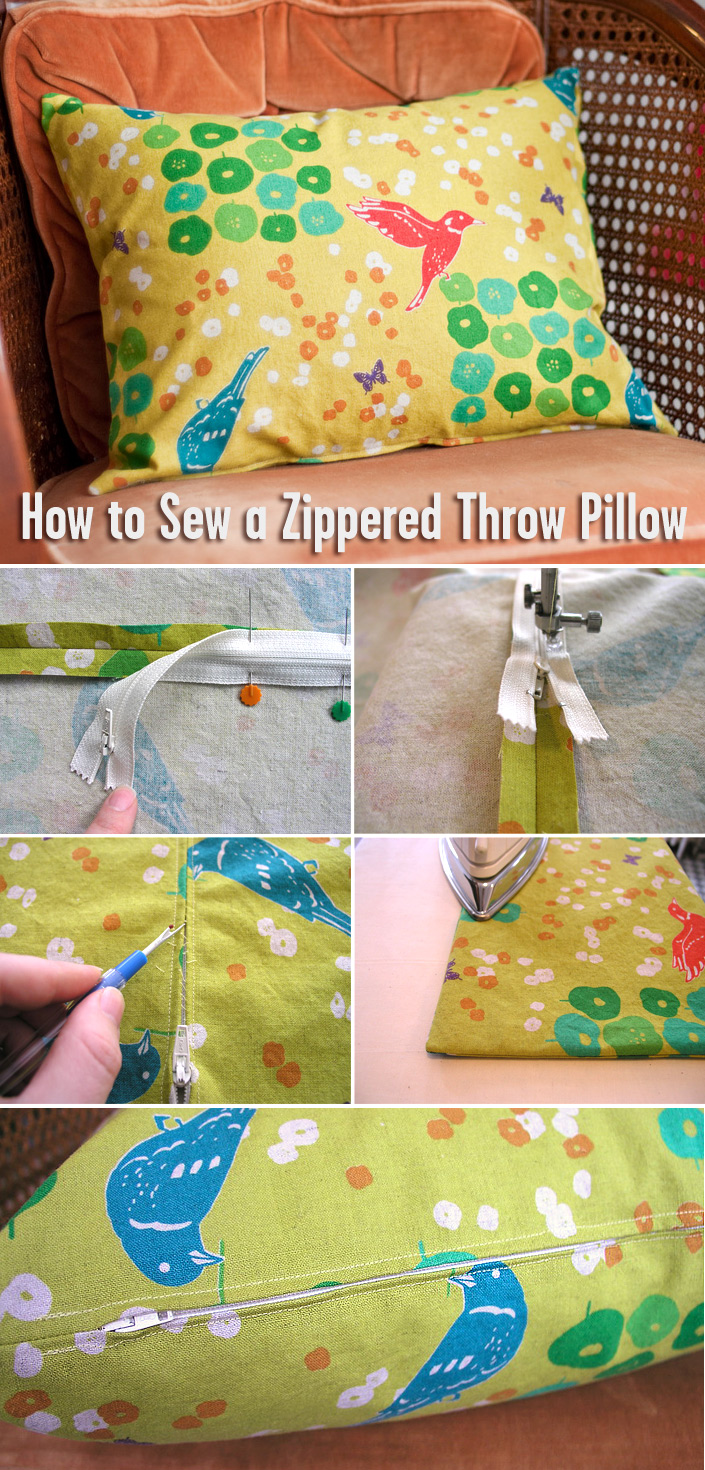
The best part? You can make the pillow shown here in less than an hour!
Ok, I know you’re not going to believe me when I say this, but installing a zipper is REALLY EASY. (There are many ways to install a zipper —some more refined than others—the method I’m sharing here is basic and very simple!)
BUT, if installing a zipper feels like it’s just too much, don’t give up. I’ll give alternate instructions at the end for how to make a pillow without a zipper. Everybody happy now? Let’s get started!
What You’ll Need
½ yard fabric (if your pillow is larger than 16”, you’ll need more fabric)
1 pillow form (buy this at a craft store or upholstery shop)
1 all-purpose zipper about 4” shorter than the edge of your pillow
Thread to match your fabric
Seam ripper
Sharp scissors
Straight pins
Tape Measure
Sewing machine
Zipper foot attachment for your sewing machine
Selecting and Preparing Fabric
Almost any type of fabric can be used for a throw pillow, but for beginners I recommend starting with medium-weight fabrics that are smooth in texture, like cottons or cotton-linen blends.
I’m using a Japanese print from the fantastic Etsuko Furuya for Echino line.
If your fabric is machine-washable, wash and dry it before sewing. This will pre-shrink the fabric, which is necessary to prevent the seams from puckering during future washings.
Finally, thoroughly iron the fabric before beginning.
Cutting
Cut two pieces of fabric that are the size of your pillow form plus 1” in length and 1” in width. So, if your pillow form is 12×16”, you’ll need two pieces of fabric that are 13×17”. This allows for ½” seam allowance on all seams.
Installing the Zipper
Place both pieces of fabric together with the right sides of the fabric facing each other and all corners aligned. (Be sure to situate both pieces so that the print pattern is facing in the same direction.)
Center the zipper along what will be the bottom edge of the pillow, since you’ll want the zipper to be on the bottom edge of the finished pillow. (Here, my fabric is flipped with the bottom edge facing up, just to make it easier to work with).
Place a pin near each end of the zipper, just INSIDE the metal stops at each end.
With a ½” seam allowance, sew the two segments on the outside of each pin. (This should be a short space of just a couple inches between the pins and the corners of the fabric.) Reinforce these seams by back-stitching at the beginning and end of each seam.
Next, change the stitch length on your machine to the longest length, which will allow you to baste the next seam. (Basting is sewing a long stitch which will later be removed; the long, loose quality of a basted stitch makes them easier to remove than regular stitches) With the stitch length set to long, simply sew the space in between the two short seams you just made. ((Do not backstitch to reinforce basted seams.)
Iron this seam open.
With the wrong side of the fabric facing up, place the zipper right-side down, aligning the zipper teeth directly over the seam. Pin it in place.
Change your machine’s presser foot to the zipper foot. Consult your manual for help with this if necessary; usually the feet snap off and on rather easily.
A zipper foot (shown here on the right) can be different for every sewing machine model, but it often looks like half of a standard presser foot (shown on the left). It allows you to sew right along the edge of the zipper teeth neatly and easily.
The zipper foot has a little sliding part that changes it to a right or left position, so just slide it accordingly depending on whether you are sewing the right or left side of the zipper. (That means you have to pop off the zipper foot after sewing the right-side seam, slide the zipper foot thingie over to the left position, then pop the foot back on the machine. All this only takes a second once you get the hang of it!)
Note: Be sure your stitch length is back to normal length for the remainder of the sewing.
Starting at the bottom of the zipper on the right side, with the zipper foot in the right-side position, sew down the side of the zipper. When you get near the end, stop the machine. Leave the needle in the work, but raise the foot, and gently move the zipper pull back behind the needle. The lower the foot again and sew to the end of the zipper. Backstitch at the end of this seam.
Next, change the zipper foot to the left position, and repeat this process on the left.
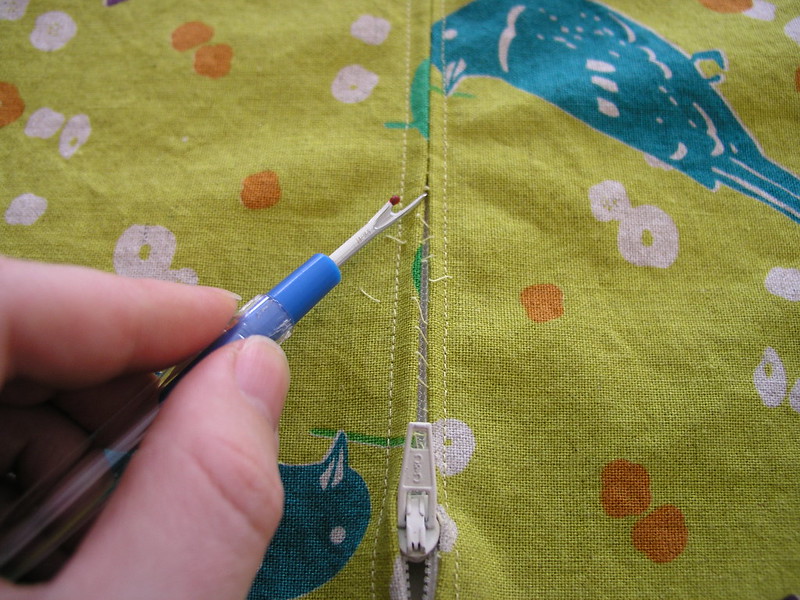
And your zipper is installed! (That wasn’t so bad, right?) The seam is still basted closed, so from the right side, use the seam ripper to gently remove the basted stitches. (They’ll pop out really easily; just pick out any remaining thread pieces that are left dangling.)
Change back to the standard presser foot. Fold the two pillow halves so that they are aligned with right sides facing each other and all corners and edges meeting. Pin in place. Sew around all three sides with a ½” seam allowance. (The fourth side, of course, is the side with the zipper installed.)
Here’s how to sew around the corners: when you reach each corner, leave the needle in the fabric and raise the presser foot, then pivot the fabric 90 degrees, lower the presser foot again, and continue sewing.
Clip the fabric at the corners. (Removing the excess fabric here helps give you a nice, sharp corner once you turn the pillow inside out.)
Turn the pillow cover inside out, ironing the seams flat.
Insert the pillow form, and you’re done!
NOW FOR THE NO-ZIPPER PART
If you’d rather skip the zip, just use your sewing machine to sew the two pieces of fabric together around three edges, plus about 2” on each side of the fourth edge. Clip the corners and turn right-side out, iron the seam flat, then insert the pillow form. Using a needle and thread, hand-sew the opening closed. Of course, this pillow cover won’t be removable, but it will still be lovely!


I was thrilled to see all the interest in sewing. I have been a sewer for 60 years and I still hesitate to do zippers. It is so simple and your blog has me moving finally to make the pillows. I do like the invisible zipper better but it is always a chore to get the correct foot to use. I heave several and haven’t used any of them for a long period of time. Have you ever had trouble with the stitching being too close to the zipper teeth? Any suggestion?
ReplyDeleteAlso,there is a neat way to eliminate the dog ears on the pillow corners. The corners naturally are very pointed when you insert the filler pillow. To eliminate this simply measure the distance from along each edge. (A rectangle pilloe will have different measurements ) mark the center of each side. Example: a 16inch square pillow would be marked at 8″. Divide the distance from center to corner (8″ divided by. 2 is 4″s. measuring from the 4″ to corner-draw a line from center to each corner onan angle 1/2 inch less at corner. Do this on all corners. Basically, you are marking and taking the pointed corners off. It is amazing how this adjustment helps to make the fit so much more accurate. I do not have any photos to send along with this. I will be happy to explain further if necessary. Reducing the pillow measurements by 1 inch is a good rule of thumb. I have made a sample pattern for the standards pillow sizes (less the inch) with the corners reduced and I use the patters over. It saves a lot of measuring. I hope this is of help to pillow makers old and seasoned!!!
Thanks for sharing this great tutorial, I’ve jsut used it to make my first zippered cushion cover and I love how it turned out. Basting and then sewing the zipper over the top leaves a nice little overlap so when it’s zipped up the zipper is nearly invisible.
ReplyDelete