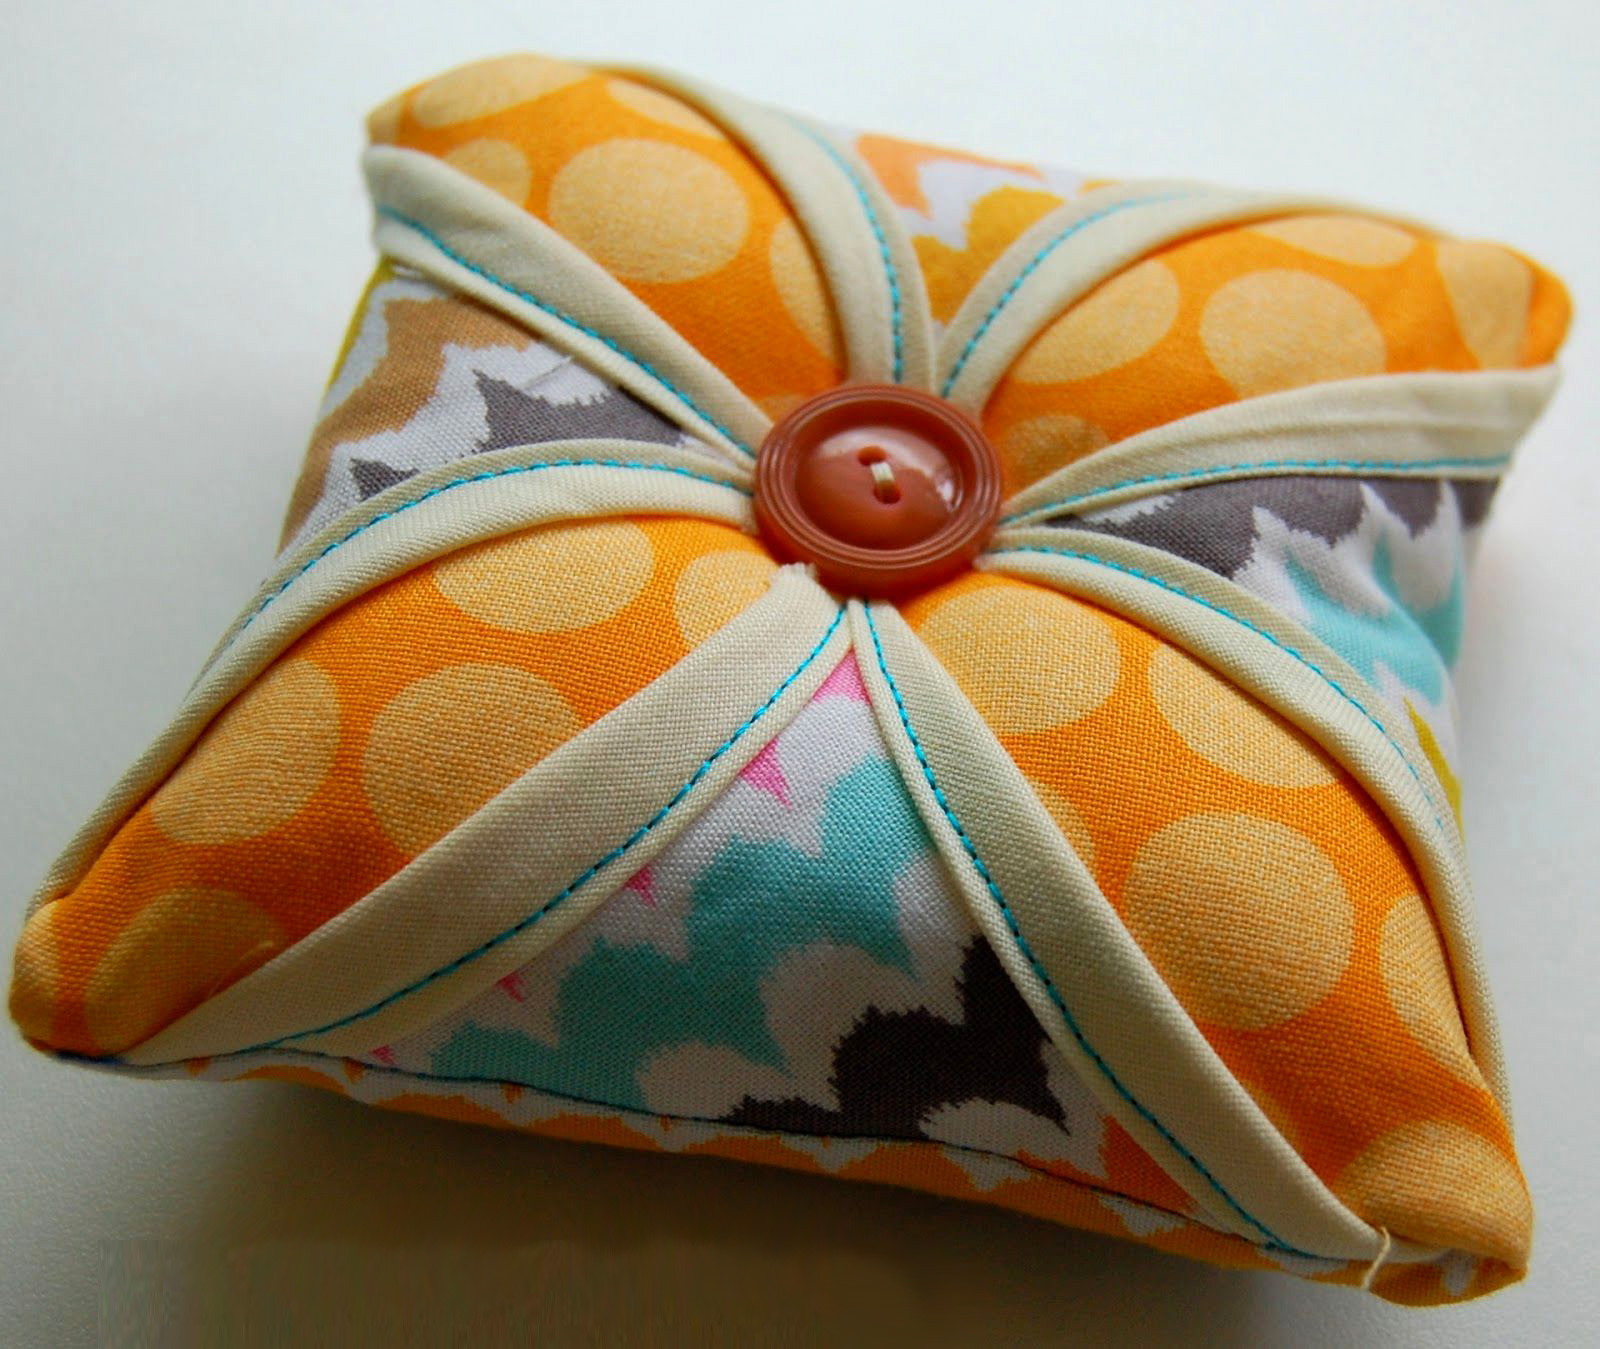
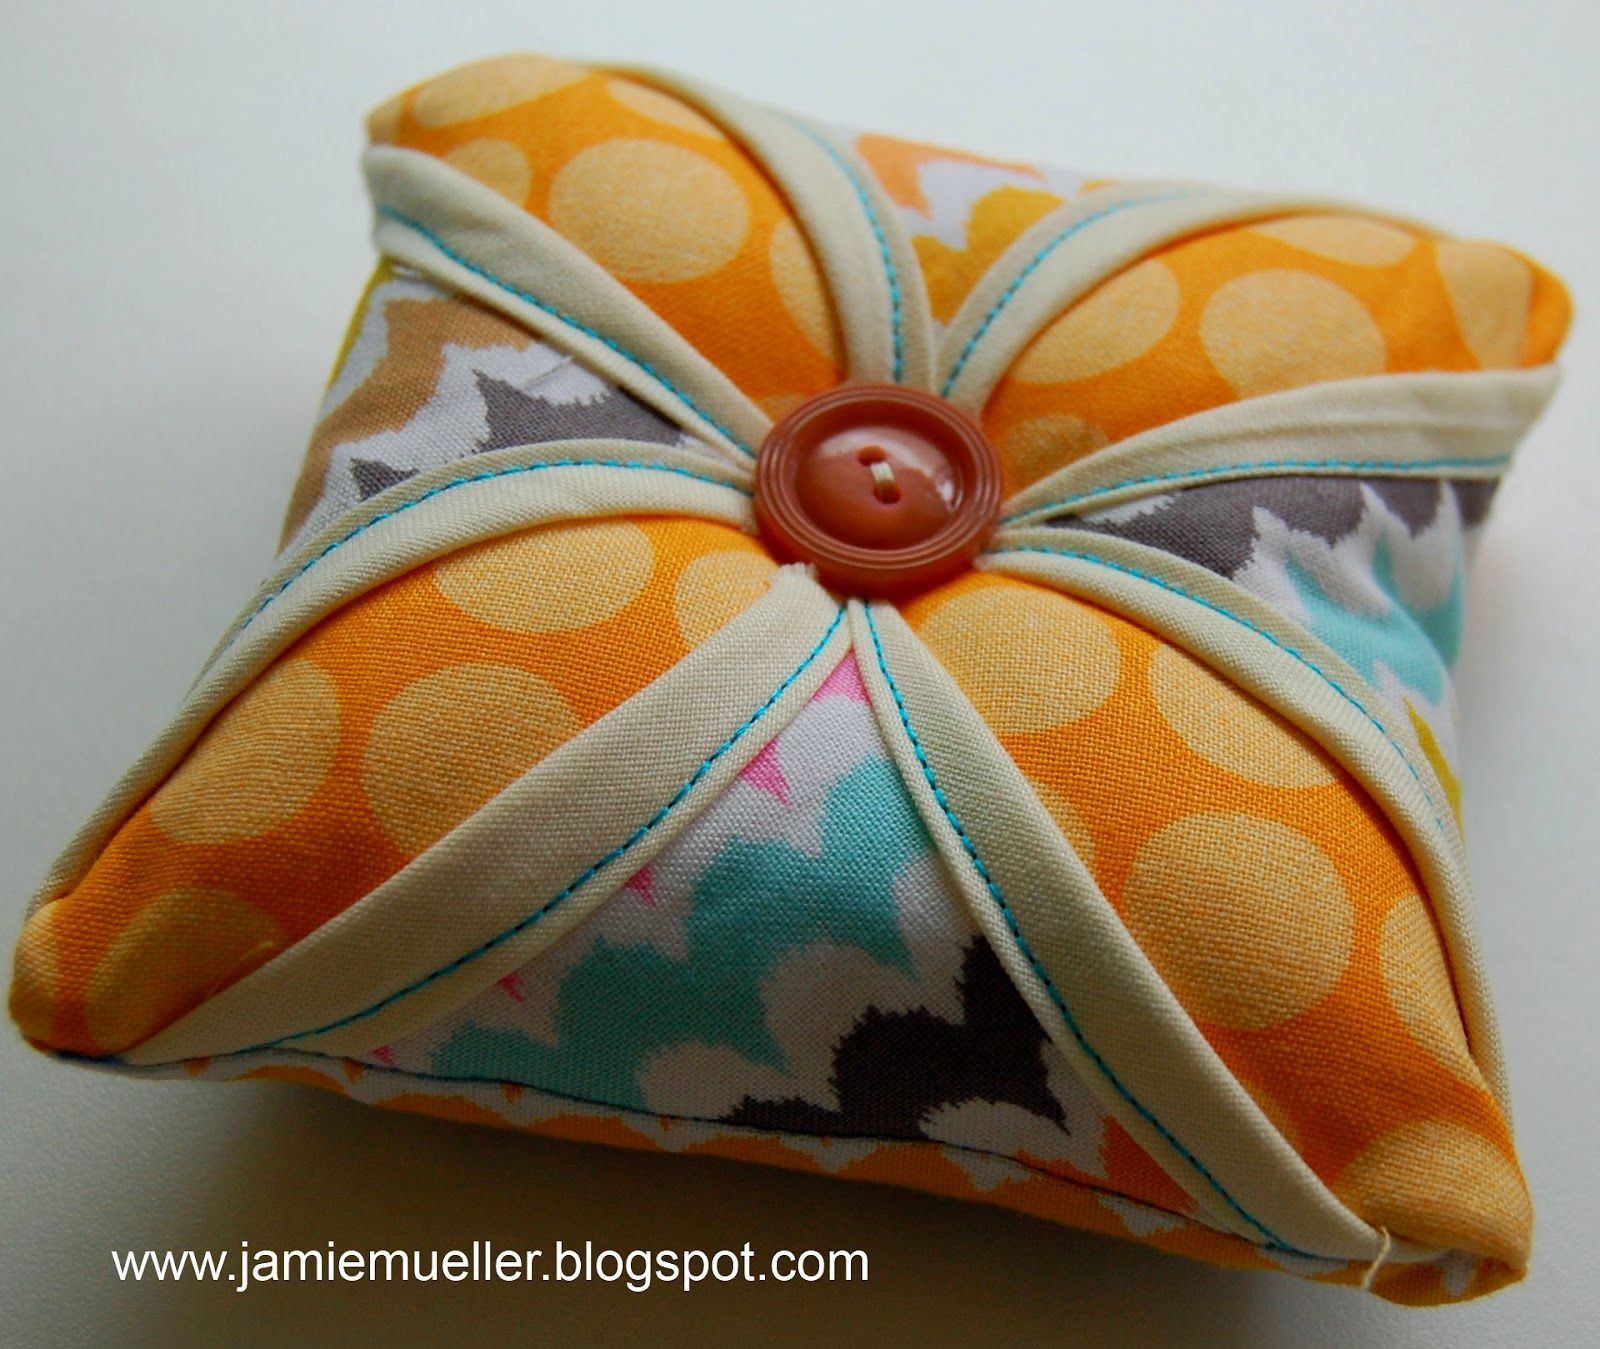
This is a tutorial on the basics of Cathedral Windows. I will show you step by step how to achieve Cathedral Windows but it will just be a sample and not really a project! This will be our practice windows; you could always turn this into a mini quilt/wall hanging!
Cathedral Windows Tutorial
*Before starting the cathedral windows pillow pattern, always remember to PRESS the fabric and not IRON the fabric. We don’t want the fabrics to stretch. I suggest not using any steam while pressing as well. Also, make sure the square pieces are truly square. This will help a lot!
Materials:
1/4 yd solid fabric -cut into 4- 10" squares
8- 3" squares for the "windows" (these are a great use for scraps!)
Coordinating Thread (match the solid fabric)
Magic Sizing (or Starch of choice) *I use the starch on the solid squares while folding, it really helps keep them stable and easier to work with!
Directions:
Folding:
*I spray starch lightly before each step of the folding process and find that it really helps keep the fabric stable and just makes it easier to work with!
1. Take one solid 10” square and fold in half. PRESS.
2. Fold that piece in half again and PRESS.
3. Open up the square and place a pin directly through the middle of the square. You should easily find the middle by the creases made from folds.
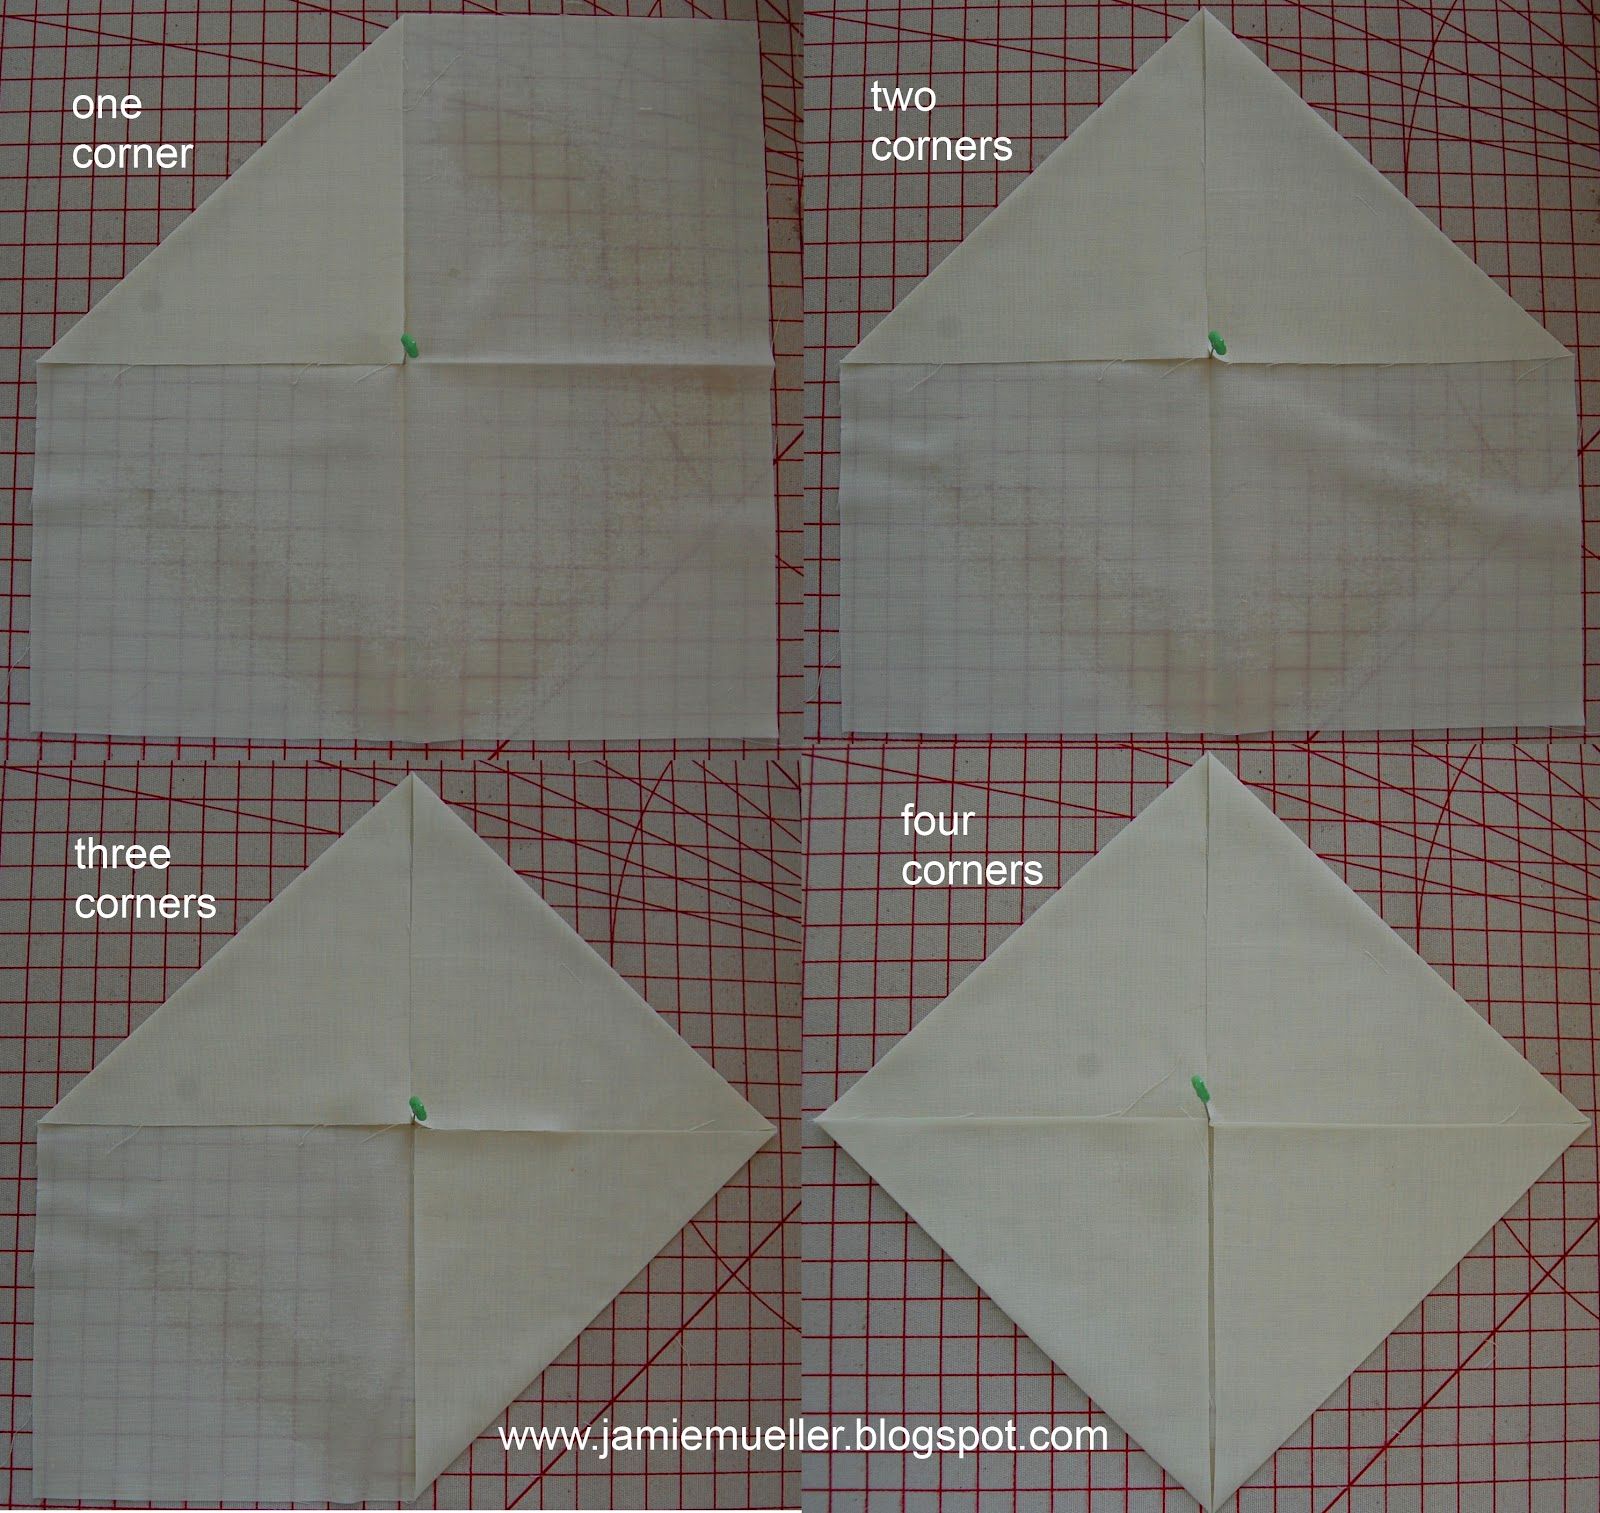
4. One corner at a time, bring one corner tip to the pin (or the center) and PRESS. Repeat with all four corners.
5. Again, one corner at a time, bring one corner to the pin (or the center) and PRESS. Repeat with all four corners.
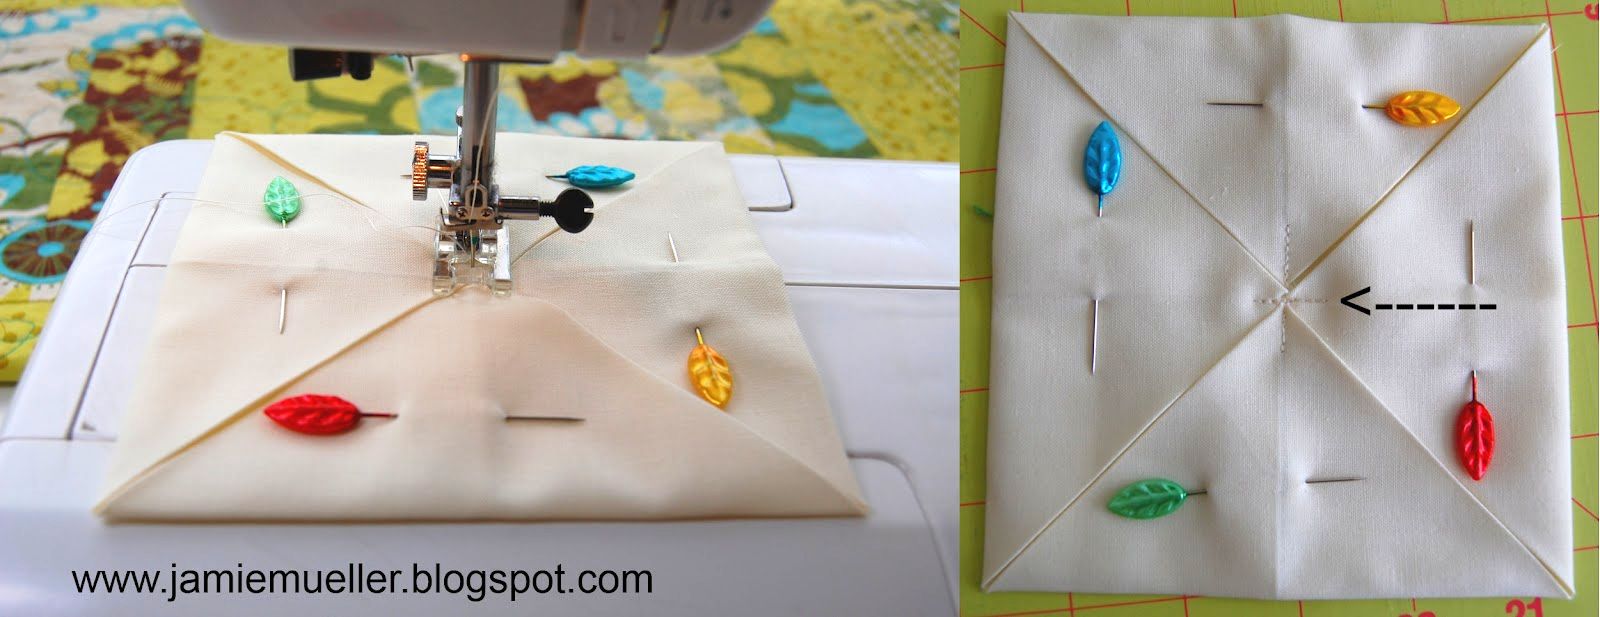
6. Pin all sides down to hold in place.
7. Repeat with the remaining 10” squares until all your squares are complete.
*This folding step is what will take the longest, now comes the FUN part!
Sewing:
1 Sew vertically and horizontally across all four points in center to tack down points.
2. Set your sewing machine to have a small zigzag stitch. (My machine was set to Width-2.5 and Length-1.0 if that helps)
3. Sew folded blocks together by placing two side by side and sewing with a small zigzag stitch together. The windows will cover up those stitches later, so don’t stress out too much on how they look!
4. Sew until you have a 2 X 2 square (looks like a four patch).
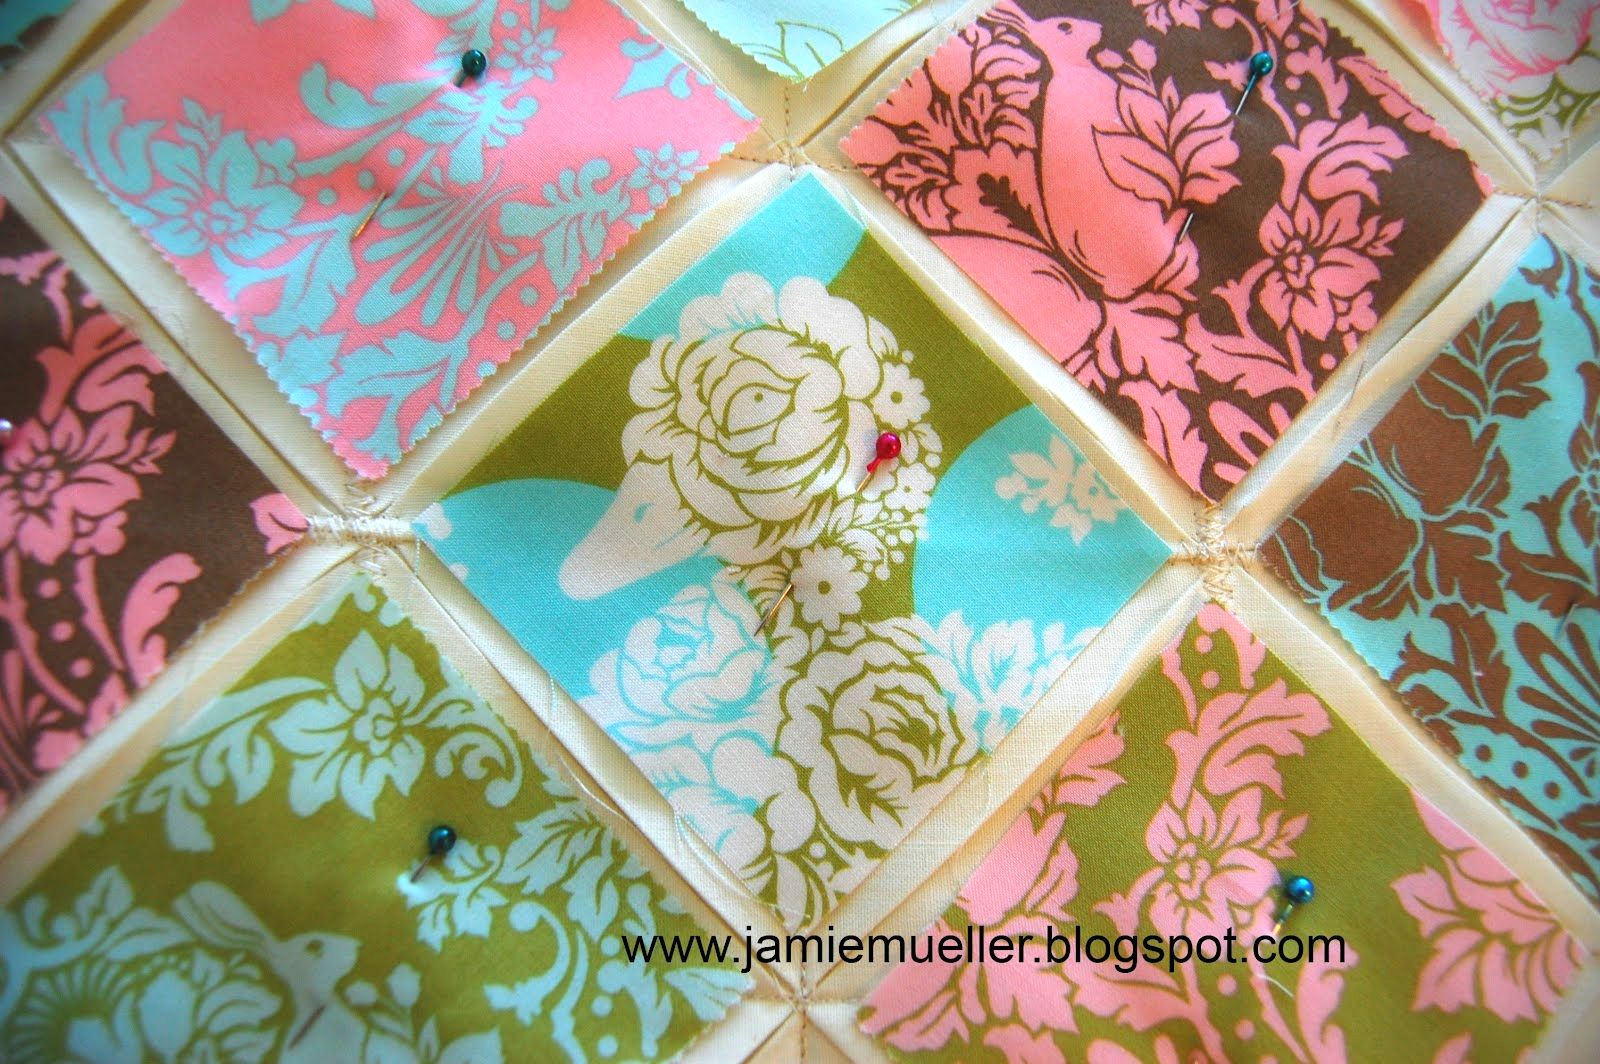
5. Take 3” squares and pin in the center of the newly formed squares, covering up the zigzag stitches and removing all pins.
6. Take the remaining 3” squares and cut in half diagonally. Next, on both bottom corners of triangles trim off 1/4". Place triangles on the outside triangles and pin in place.
*Trimming off corners isn't mandatory, but it will make it easier to sew. If you don't trim them off they tend to make ugly little flaps (see photo below).
7. Starting with the center colored square, take one side and fold over towards the center. Pin in place and repeat with all four sides. Continue until all squares are fully pinned. The sides should naturally curve on their own, see isn't it much harder than it looks?
(not necessary to pin before sewing, but highly recommended until you're fully comfortable with the technique. I forgot to take a photo of one fully pinned.)
8. Do the same thing with the outside triangles, instead only pinning down two sides instead of four.
9. Starting in the middle of the project, sew with a straight stitch on top of the solid fabric closest to the color part around all four sides. Continue with all squares.
10. Do the same with the triangles, only sewing three sides instead of four.
* Here are photos of a way to sew around the entire project without picking up your needle once. Having the needle down feature on your machine really comes in handy for this! If you don't have it, no big deal, just remember to stop with your needle down before turning your project.
These photos might be a little confusing, don't let them overwhelm you, but you basically start in the center and go all the way around including the corners and end up back in the center. It will make a lot more sense once you start actually sewing! The first photo is if you're right handed and the second photo is if you're left handed.
RIGHT HANDED
LEFT HANDED
Sewing: Embellishment
*Here are directions if you want to add fabric underneath the windows for a little peak-a-boo surprise. See photo: The yellow dot fabric is the peak-a-boo surprise instead of being the solid cream color!
*This would be done before step 1 of the sewing directions above!
1. Measure your folded square to determine size. This would be a 5"square if you're using a 10" square to begin with.
2. Open the top flaps of your folded square and insert your 5" square fabric and pin in place.
3. Then, sew vertically and horizontally across all four points in center to tack down points.
*Then continue on to step 2 of the sewing directions at the beginning of the tutorial!
Well that's it for the basic tutorial of Cathedral Windows! See, I told ya'll it's easier than it looks!











Thank you for this tutorial. It has really helped clarify things for me. I got a giggle over #7 though as you said the opposite of what you meant about it being easy vs hard.
ReplyDeleteThe other thing that would have been helpful is an addendum on how to make this project bigger. I think maybe from something else I saw, that you start with the 4 blocks and then that becomes one big block that you attach to other big blocks. So in that case you would leave off the triangles and add more squares?