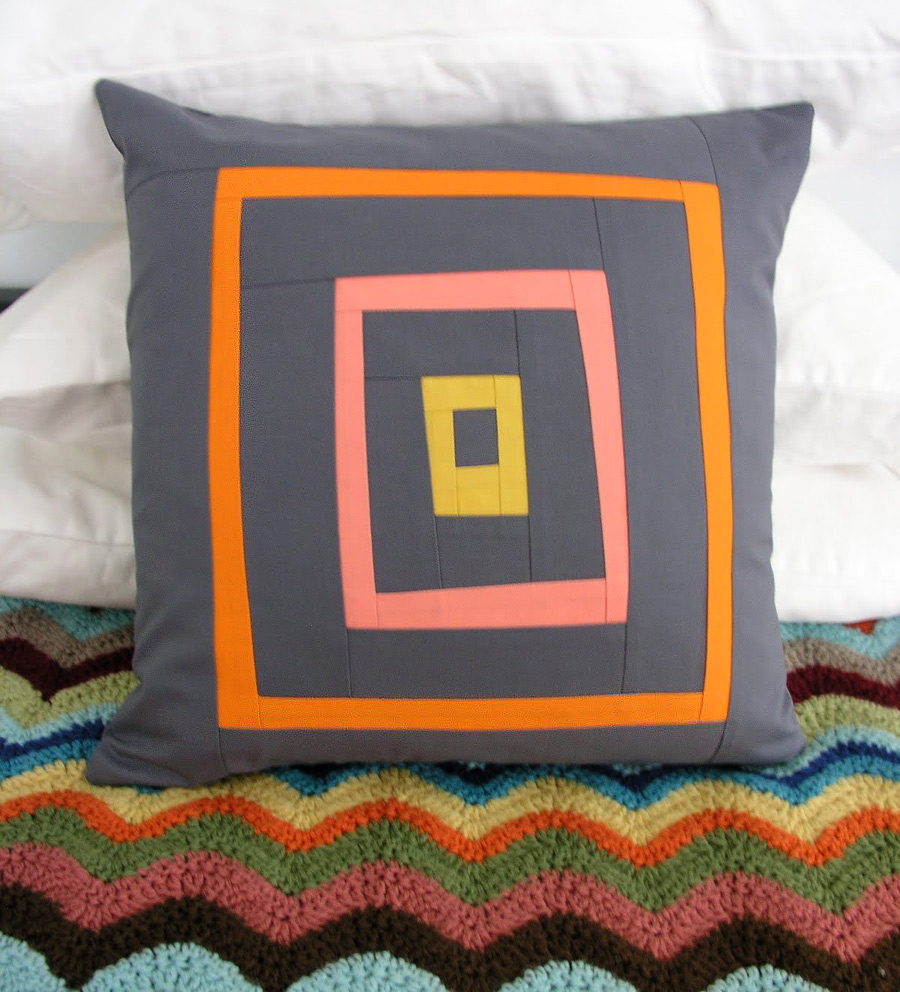
Traditional quilting is all about precision — each piece is painstakingly cut and seamed to achieve perfect angles and orderly lines. While the traditional quilt is truly a thing of beauty and impressive to any crafter, many modern quilters are letting their hair down in favor of a wonky, free-form style of quilting that breaks all the rules.
This post will show you how to construct a traditional log cabin square, reinterpreted in a modern style. It’s a super-easy type of patchwork that’s perfect for beginners and lends itself to lots of interpretation — I’ve made a pillow here, but you can easily turn your log cabin squares into pot holders, a quilt or a tote. Let’s get started!
Materials
assortment of quilting fabrics in the colors of your choice
scissors OR rotary cutter, cutting mat and straight edge
iron
sewing machine
Basics of “Wonky” Patchwork
Modern, wonky patchwork is very free form; there aren’t any strict rules to it, but here are some basics that will help you achieve the look.
Choosing Fabric
I recommend quilting fabric for this type of project, which is a medium-weight cotton that is readily available at any fabric store. I also recommend washing and drying your fabric before sewing with it.
Cutting
A log cabin patchwork is made from simple strips of fabric. For a really free-form look, cut your fabric into long strips of different widths (anywhere from 1.5″ to 4″ is a good range). As you build the log cabin, you’ll cut the smaller pieces you need from these long strips.
Sewing Wonky Seams
Normally in sewing, you align the raw edges of your fabric and sew with a specific seam allowance, usually 1/4″ or 1/2″. Modern quilting throws that notion out the door!
To make a “wonky” seam, place your two pieces of fabric with the right sides together, and then sew the seam any way you want. Options include: (left) align the raw edges of the fabric together, but sew the seam on a slant; (center) align the fabrics so they are askew before sewing the seam; and (right) align the fabrics with an exaggerated seam allowance on one piece, which will make that strip more narrow in the finished patchwork (this is useful if you’re free-form sewing and you decide at the last minute, after having cut your strips, that you want a certain section to be very narrow).
The only rule is that all of your seams should be straight lines; if they aren’t, the finished patchwork piece will be rippled rather than flat.
Ironing
In any quilting, you must iron each seam after you sew it. So in each step described below, be sure to iron the seam before moving on to the next step. I find it’s most efficient to set up my ironing board right next to my sewing table (with the ironing board lowered to the same height as the table), so that I can just swivel in my chair to iron each seam as I sew it.
1. Cut strips.
To begin, cut your fabric into a bunch of strips, anywhere from 2″ to 4″ wide. To make this job quicker, you can stack several fabrics together and cut through them all at once.
2. Sew the log cabin.
To begin the log cabin, cut a square of fabric from your strips for the center of the log cabin (that’s the gray piece on the left). Cut another piece of fabric that’s as long as one side of the center square (that’s the yellow piece on the right).
Sew these two pieces, right sides together, using a wonky seam as described above.
Open the two pieces of fabric on the seam, and press the piece with the seam facing one side.
Next, rotate the seamed piece so that the most recent strip you attached is facing the top edge. Cut another piece of fabric from your pre-cut strips that’s as long as the right side of the seamed piece. Sew the new strip to the seamed piece, again using a wonky seam. Remember to iron each seam after you sew it.
Now, rotate the patchwork piece again so that the strip you most recently added is on the top edge, and cut another strip that is as long as the right side of the patchwork piece.
Continue in this way, rotating the piece and cutting the next strip as long as the right edge.
Whenever you want to add a new color, simply switch to a different color of fabric. Continue rotating and adding new strips in the same direction.
That’s all there is to it! Just keep repeating these steps until your piece is the size you want.
3. Finish it off.
Sewing a patchwork with wonky seams will create a finished piece with uneven edges. For neat finished results, it’s best to trim the finished piece to square it up. I use my cutting mat for this job, but you can use scissors and a straight edge; just trim all four sides of the patchwork so that they’re straight and even and all the corners are square.
To make a pillow like the one shown here, follow these directions from a previous post about making a zippered pillow cover. Use your log cabin as the front of the pillow, and cut a solid piece of fabric to the same size for the back of the pillow. (I recommend lining the wrong side of the patchwork with a solid piece of fabric before sewing the pillow, just to stabilize the patchwork and prevent the seams from any wear and tear as you insert or remove the pillow form.)
Enjoy, and happy patchworking!


No comments